Experiment on the Density of Liquids: A Study in Scientific Layers
Are you looking for fun and educational activities to keep the kids engaged during the summer break? Look no further! In this article, we will guide you through the Liquid Layers Density Experiment, a captivating and simple science project suitable for children.
Understanding the concept of density can be a challenge for kids, but this experiment makes it easy and exciting. With common household materials, you can create a visually striking display of liquids with different densities, each forming a distinct layer without mixing.
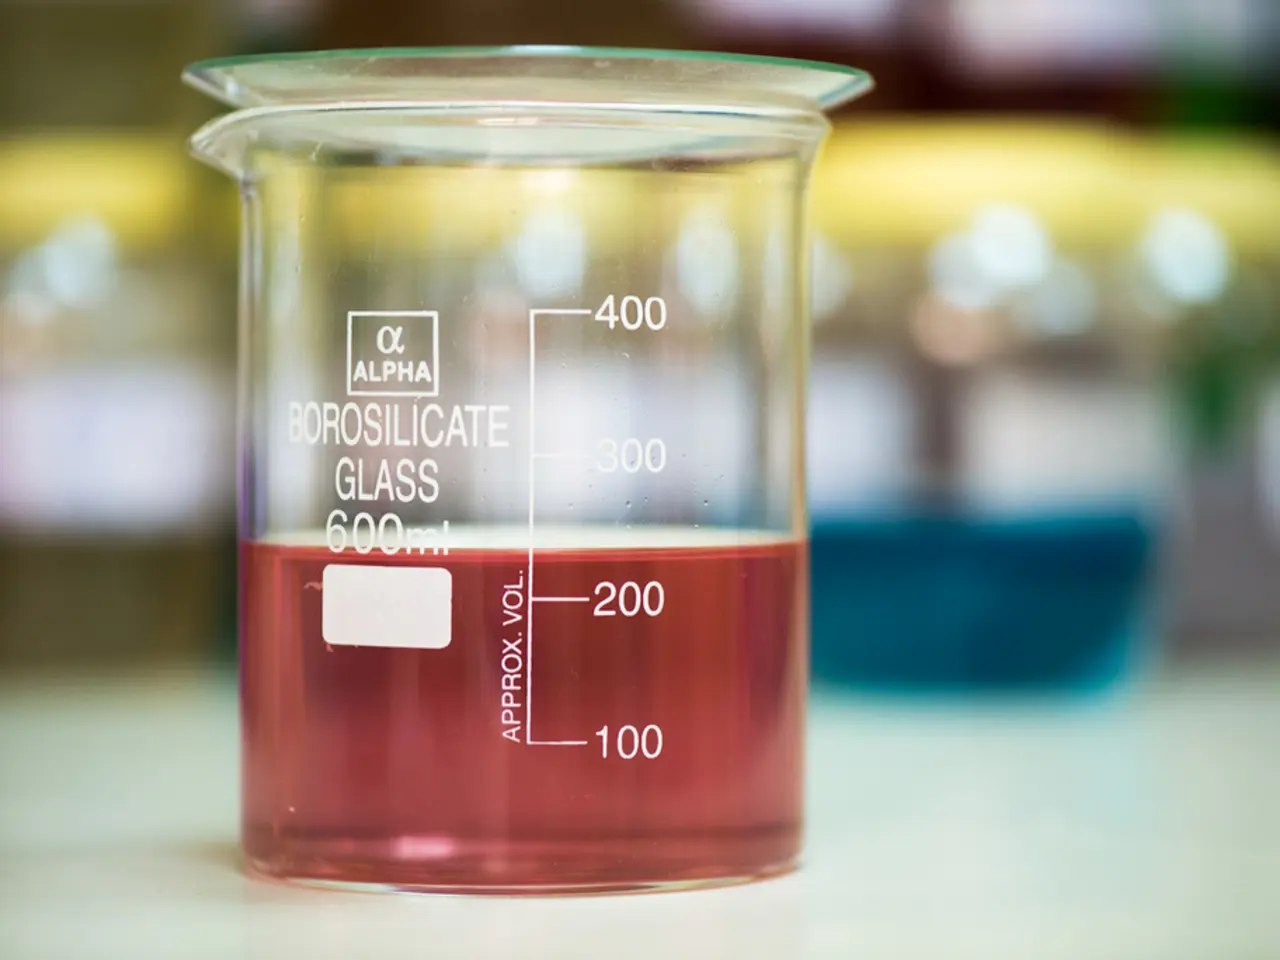
To perform the Liquid Layers Density Experiment, you will need 100% pure maple syrup or corn syrup, dish soap, water, oil (either olive or vegetable), rubbing alcohol, food coloring, a turkey baster, pipette, or medicine dropper, and a clear jar. Optionally, colour the water and rubbing alcohol with different food colouring to visually distinguish the layers.
1. Prepare the liquids: Colour the water and rubbing alcohol if desired. 2. Choose a clear glass or transparent container so you can see the layers clearly. 3. Pour the heaviest liquid first: Slowly pour maple syrup into the bottom of the glass. 4. Add the dish soap carefully: Pour dish soap gently on top of the maple syrup, pouring it slowly down the side of the container or over the back of a spoon to avoid mixing. 5. Add coloured water: Next, slowly add water (colored if desired) on top of the dish soap layer. 6. Add oil: Pour vegetable oil or cooking oil slowly over the water layer. 7. Add coloured rubbing alcohol: Finally, add rubbing alcohol coloured with food dye.
With careful, slow pouring, each liquid will form a distinct layer based on its density without mixing much. This illustrates how liquids with different densities stack rather than mix, creating a visible density column.
For added fun, try dropping small objects (like beads or small fruit pieces) into the layered liquids to see in which layer they float or sink, demonstrating buoyancy related to density.
The layering effect is visually striking and ideal for teaching or demonstrating density differences in a clear, simple way. The Liquid Layers Density Experiment uses concepts of density (mass/volume), immiscibility (liquids that do not mix), and layering of fluids.
If you're interested in more science experiments for kids, be sure to visit the Super Cool Science Experiments for Kids page. You'll find numerous experiments that kids will find enjoyable, including the Homemade Compass, which was recently shared during the Summer Science Camp.
The Summer Science Camp, led by Erica from What Do We Do All Day?, is a free event held each Thursday this summer. The camp shares classic science experiments suitable for kids, providing a hands-on approach to learning about various scientific concepts. Whether you're looking for a fun activity to do at home or a way to supplement your child's education, the Super Cool Science Experiments for Kids page is a valuable resource.
So, gather your materials and get ready to explore the fascinating world of density with the Liquid Layers Density Experiment!
This science project, the Liquid Layers Density Experiment, not only keeps children engaged during summer break but also introduces them to the concept of density in a fun and interactive way. To further enhance their learning experience, they can also explore health-and-wellness and fitness-and-exercise topics, such as understanding the importance of maintaining a balanced diet for overall health and the benefits of regular exercise for their well-being.